Getting Started
Downloading required dependencies and setting up a development environment
Install MetaMask
In order to interact with a smart contract on Energi, you will need to install a web3 wallet and initialize an account with some test NRG in it.
MetaMask, one of the most popular wallet apps, has an extension that can be installed directly into your web browser as well as a mobile app that you can use on iOS and Android. Download MetaMask and create a new wallet.
Your wallet credentials should be kept private!
When creating your new MetaMask wallet, you'll be given a seed phrase of 12 randomly generated words. These words can give you (or anyone else!) access to your account to send transactions and add or remove funds from your account. Keep this seed phrase somewhere secure, and never share it on the internet. We recommend 1Password for keeping it secure.
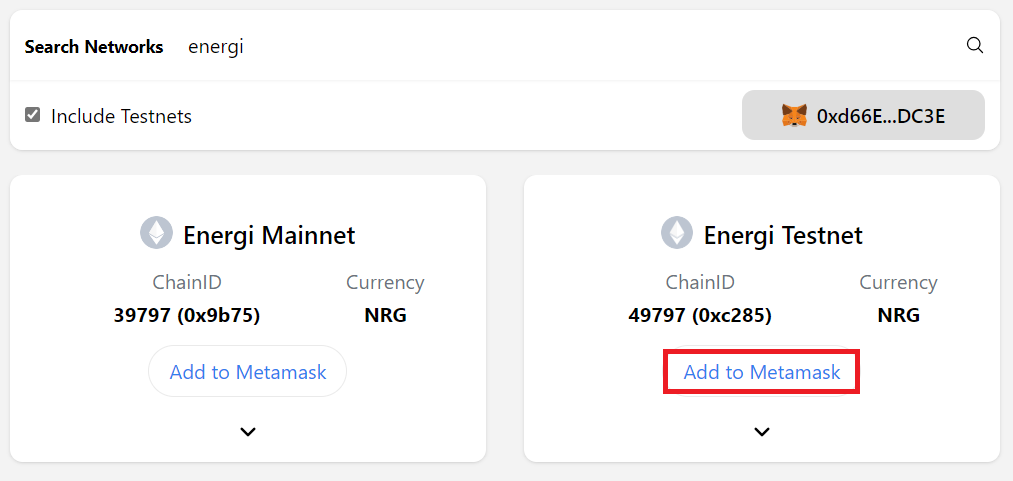
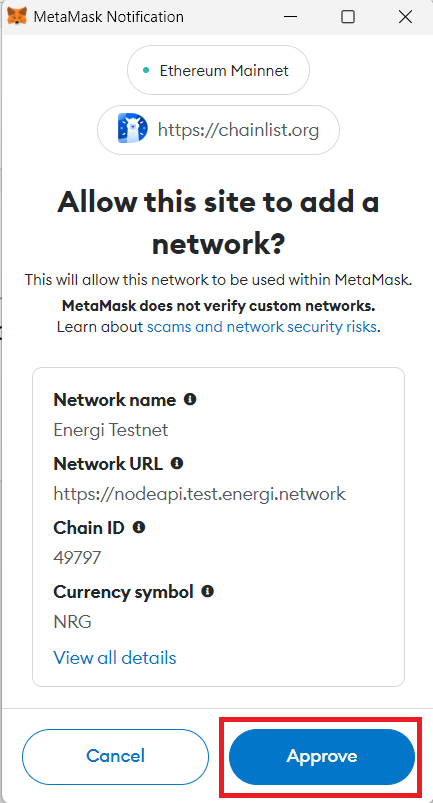
Configure Energi Testnet
Configure Energi Testnet Network by going to https://chainlist.org.
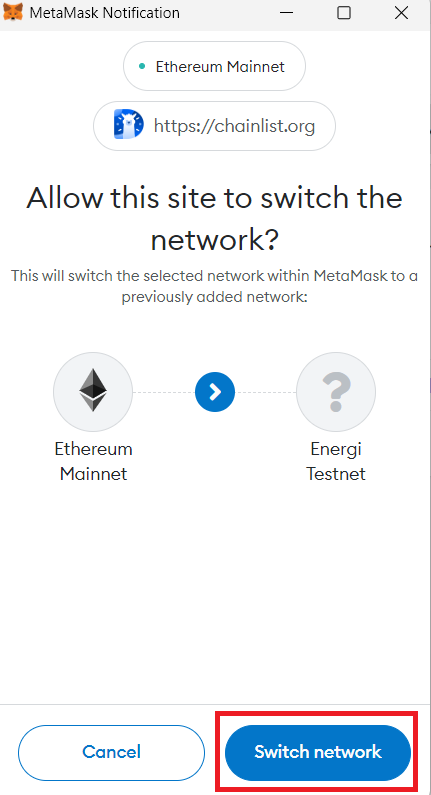
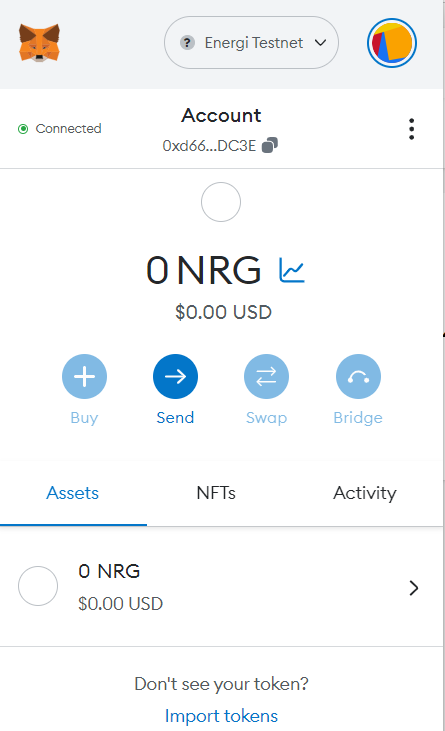
Once you are finished you will see a brand new account with 0 NRG in it. You can also switch over to the Energi Testnet by clicking on the network names at the top.
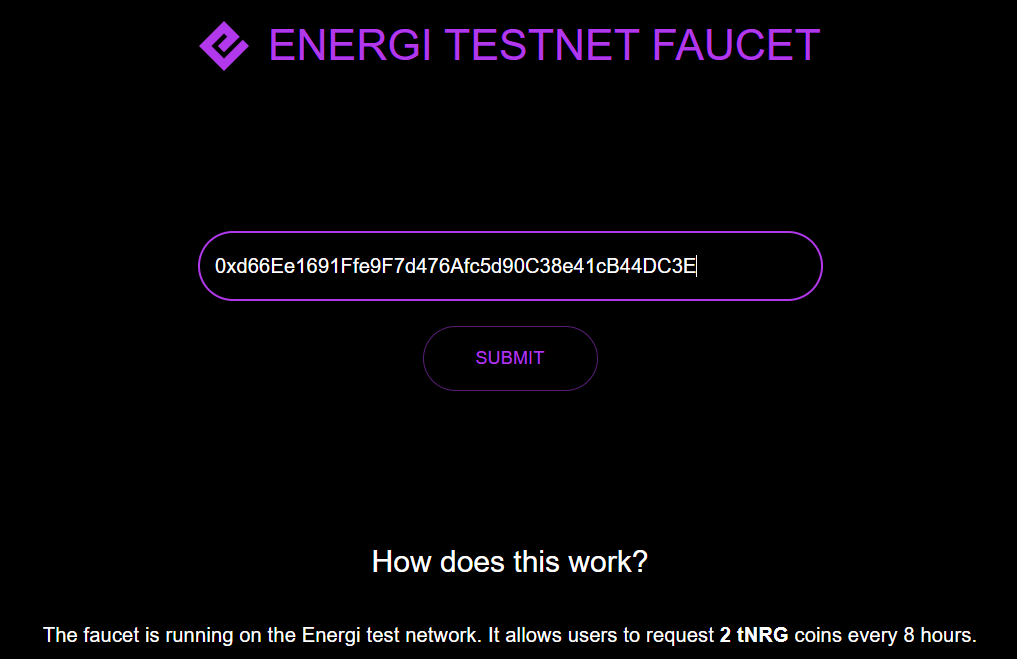
Add some Test NRG from faucet to your account
To add some test NRG (tNRG) to your wallet, go to the Energi Testnet Faucet and request some tNRG be added to your account.
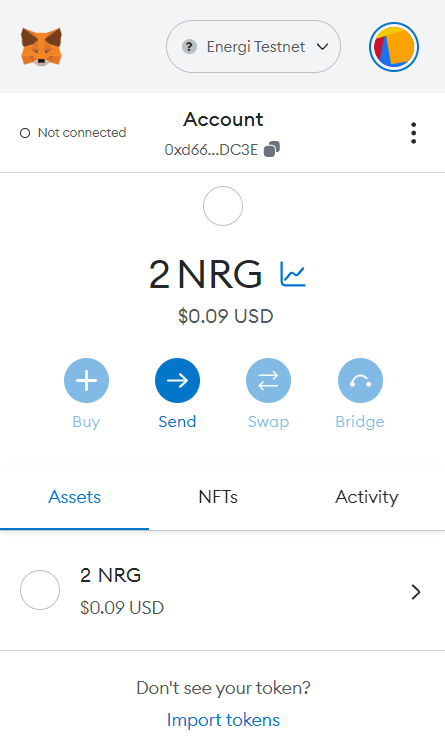
Check balance on MetaMask:
Create Project Directory and Validate npm
Create a new folder on your computer and initialize a new project. After that, add the following dependencies that we will be using in this project. Alternatively, download this starter project with some preset dependencies. Note: this tutorial assumes you have a recent version of npm (we used 8.0.0 for this tutorial) available on your computer.
mkdir nft-tutorial
cd nft-tutorial
Confirm the valid minimum version of npm is used.
npm --version
Response 8.0.0 or newer.
Initialize a New Project in your Workspace
npm init
# fill out the form fields or use defaults
...

{
  "name": "nft-tutorial",
  "version": "1.0.0",
  "description": "",
  "main": "index.js",
  "scripts": {
    "test": "echo \"Error: no test specified\" && exit 1"
  },
  "author": "",
  "license": "ISC"
}
Install dependencies
# Install Hardhat
npm install --save-dev hardhat

# Install Hardhat plugin for integration with ethers.js
npm install --save-dev @nomiclabs/hardhat-ethers

# Install the hardhat-etherscan plugin (requires v3.0.0+)
npm install --save-dev @nomiclabs/hardhat-etherscan

# Install OpenZeppelin Contracts
npm install @openzeppelin/contracts

# Install Dotenv module to load environment variables from a .env file
# into process.env
npm install dotenv --save

# Install ethers.js library aims to be a complete and compact library for
# interacting with the Energi Blockchain
npm install --save-dev ethers@^5.0.0

# Install light-weight module that brings Fetch API to Node.js
npm install --save-dev node-fetch@2
After you've finished all installations, your package.json file should look (more or less) like this:
{
  "name": "nft-tutorial",
  "version": "1.0.0",
  "description": "",
  "main": "index.js",
  "scripts": {
    "test": "echo \"Error: no test specified\" && exit 1"
  },
  "author": "",
  "license": "ISC",
  "devDependencies": {
    "@nomiclabs/hardhat-ethers": "^2.2.3",
    "@nomiclabs/hardhat-etherscan": "^3.1.7",
    "ethers": "^5.7.2",
    "hardhat": "^2.15.0",
    "node-fetch": "^2.6.11"
  },
  "dependencies": {
    "@openzeppelin/contracts": "^4.9.2",
    "dotenv": "^16.3.1"
  }
}
Initialize Hardhat
Final step in setting up a local environment of Hardhat is to run:
npx hardhat
> npx hardhat
888 888 888 888 888
888 888 888 888 888
888 888 888 888 888
8888888888 8888b. 888d888 .d88888 88888b. 8888b. 888888
888 888 "88b 888P" d88" 888 888 "88b "88b 888
888 888 .d888888 888 888 888 888 888 .d888888 888
888 888 888 888 888 Y88b 888 888 888 888 888 Y88b.
888 888 "Y888888 888 "Y88888 888 888 "Y888888 "Y888
👷 Welcome to Hardhat v2.7.0 👷
? What do you want to do? …
Create a basic sample project
Create an advanced sample project
Create an advanced sample project that uses TypeScript
❯ Create an empty hardhat.config.js
Quit
...
✨ Config file created ✨
You have successfully setup your developement environment.
Your project should be structured like this:
tree -L 3 -I 'node_modules*|cache*'
.
├── hardhat.config.js
├── package-lock.json
└── package.json
hardhat.config.jsis a hardhat configuration file where we can define our blockchain configuration variables such as which network we want to operate on and which accounts to use.package.jsonandpackage-lock.jsonare npm-created files used to define dependencies we might need.
Additional Resources
Please review additional resources on our document site: