3. Adding metadata and payments to your contract
Adding metadata that will be used to represent your NFT items as well as adding a price to mint
Now that we can mint NFTs from our contract using our script, we can bring our NFT collection to life by adding rich metadata (such as images and traits) to each minted token.
This section assumes you already followed Steps 1 and 2 of this tutorial, so make sure to go back to the previous steps of this tutorial and follow along to set up and deploy your own NFT contract.
3.1 Introduction to NFT Metadata
Providing NFTs with metadata allows applications like GonnaMakeIt to pull in rich data for digital items and easily display them. Metadata allows these assets to have additional properties, such as a name, description, an image, and various traits.
How do Web3 applications fetch NFT metadata? The ERC721 standard specification defines an extension called ERC721Metadata that defines a tokenURI() function that can take in a _tokenId field and outputs a link to the off-chain token metadata described above. Nowadays, most ERC721 contracts actually extend ERC721Metadata by default.
We will not go into too much detail on how to structure your metadata schema, since we cover this extensively in our Metadata Standards guide. There are many different approaches that developers can take for assigning metadata to tokenIds, but OpenZeppelin's ERC721 makes it easy to create a single baseURI that serves as a prefix to all tokenURIs (e.g. https://my-nft-metadata.com/{token-id}).
3.2 Extending our existing contract
We can extend the NFT.sol contract from chapter 1 to have a setter and getter for baseURI that can then be used by OZ's default tokenURI() implementation:
// SPDX-License-Identifier: MIT
pragma solidity ^0.8.18;

import "@openzeppelin/contracts/token/ERC721/ERC721.sol";
import "@openzeppelin/contracts/utils/Counters.sol";

contract NFT is ERC721 {
  using Counters for Counters.Counter;

  Counters.Counter private currentTokenId;

  /// @dev Base token URI used as a prefix by tokenURI().
  string public baseTokenURI;

  constructor() ERC721("NFTTutorial", "NFT") {
    baseTokenURI = "";
  }

  function mintTo(address recipient) public returns (uint256) {
    currentTokenId.increment();
    uint256 newItemId = currentTokenId.current();
    _safeMint(recipient, newItemId);
    return newItemId;
  }

  /// @dev Returns an URI for a given token ID
  function _baseURI() internal view virtual override returns (string memory) {
    return baseTokenURI;
  }

  /// @dev Sets the base token URI prefix.
  function setBaseTokenURI(string memory _baseTokenURI) public {
    baseTokenURI = _baseTokenURI;
  }
}
This addition to the contract will make it so that calling tokenURI() for any of our minted tokenIds will return the baseTokenURI + tokenId without any additional work on our end.
Now we can move on to uploading some metadata and then we can use the setBaseTokenURI() function to set the metadata on tokens after the contract is deployed. You can go ahead and use the Hardhat deploy task to deploy the contract again. Note that this is a brand new contract in the EVM's mind, with no relation to any previous deployments of it that we have done.
An alternative strategy some developers use is to override the _baseURI() method to return a hard-coded string "https://your-token-metadata.com/metadata/". This allows you as the developer to save on gas by avoiding having to call setBaseTokenURI(), at the added restriction of not being able to change your metadata after it is deployed.
For the purpose of this tutorial, we will "take the long way" in order to better understand interacting with Energi smart contracts.
3.3 NFT Metadata Storage
NFT metadata can stored anywhere. It can be provided by a simple server you can create or on a cloud-based solution like AWS. These centralized options, however, are counterintuitive to the ethos of the Web3 movement and are therefore typically not preferred to more decentralized solutions like InterPlanetary File system (IPFS) or Arweave.
For this tutorial, we will rely on IPFS and Protocol Lab's NFT Storage for metadata storage, but you could consider other solution providers such as Arweave or Pinata if your needs call for data permeance or ease-of-use.
Follow the instructions on NFT Storage's site to register for an account and we can begin using their webapp to create and upload metadata for our tokens
3.4 Creating & Uploading Metadata
Create two directories in your project root: images/ and metadata/. The images/ directory will store all our images, which we will need to upload first and metadata/ will store all the JSON files for the tokens in your NFT contract and we will upload all of them at once as a compiled IPFS Car. This ensures that they all have the same base endpoint with individual tokenIDs appended at the end.
mkdir images
mkdir metadata
3.4.1 Image CAR
Feel free to use your own images here or some of the lovely GonnaMakeIt Creatures below:


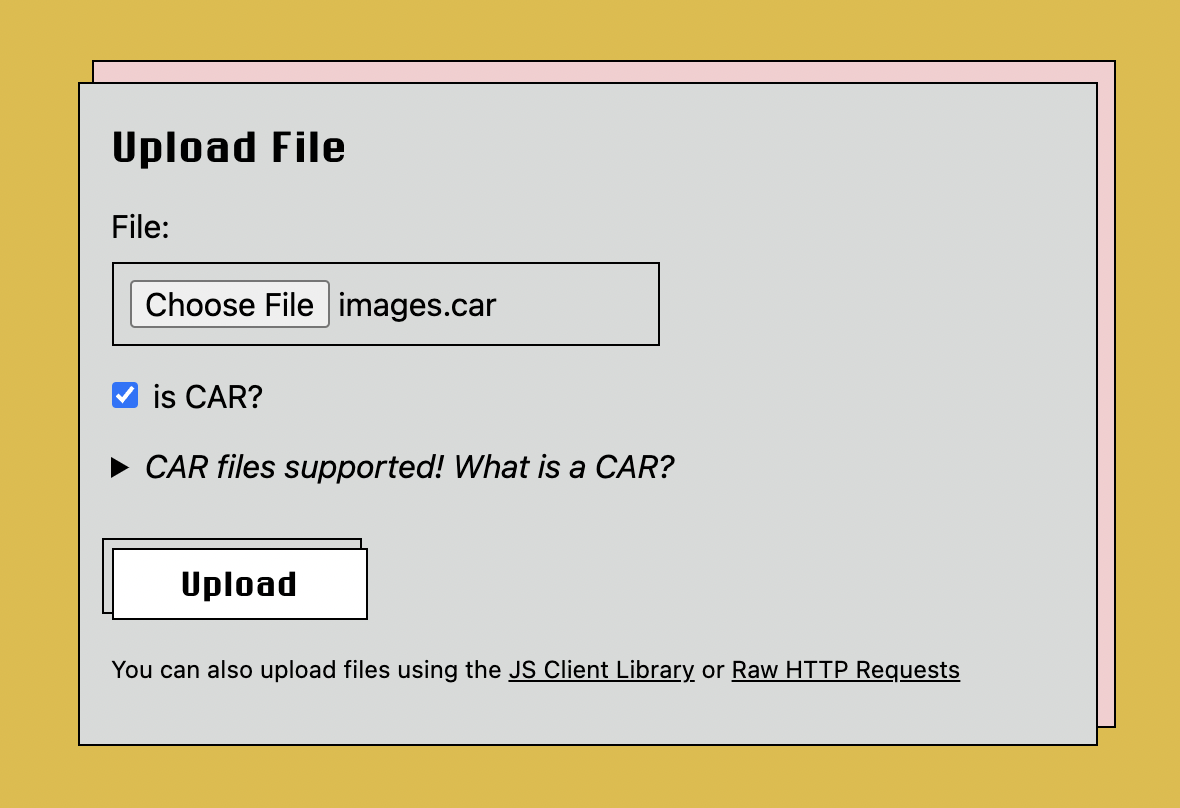
Once you have some images in the images/ directory, pack them to an IPFS-compatible CAR using a handy CLI command:
npx ipfs-car pack images --output images.car
Need to install the following packages:
  [email protected]
Ok to proceed? (y)

root CID: bafybeic5krzlbyrwbq63iwikn5djfv62lmzyqcr7azvhwcuwzrbbmfhz7m
  output: images.car
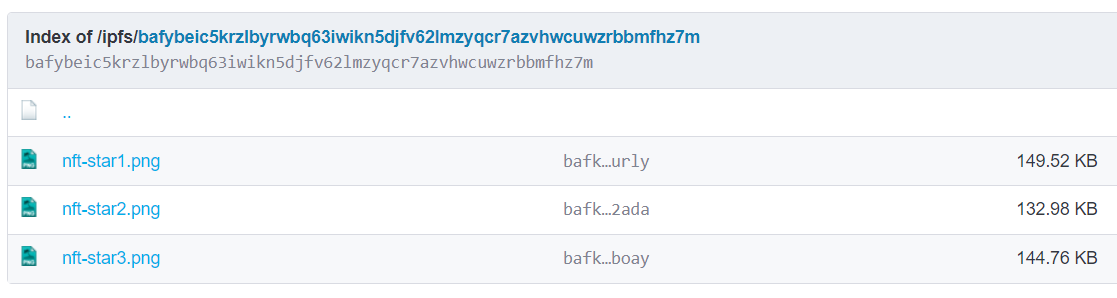
Next navigate to the NFT Storage Files page to upload this CAR file to IPFS:
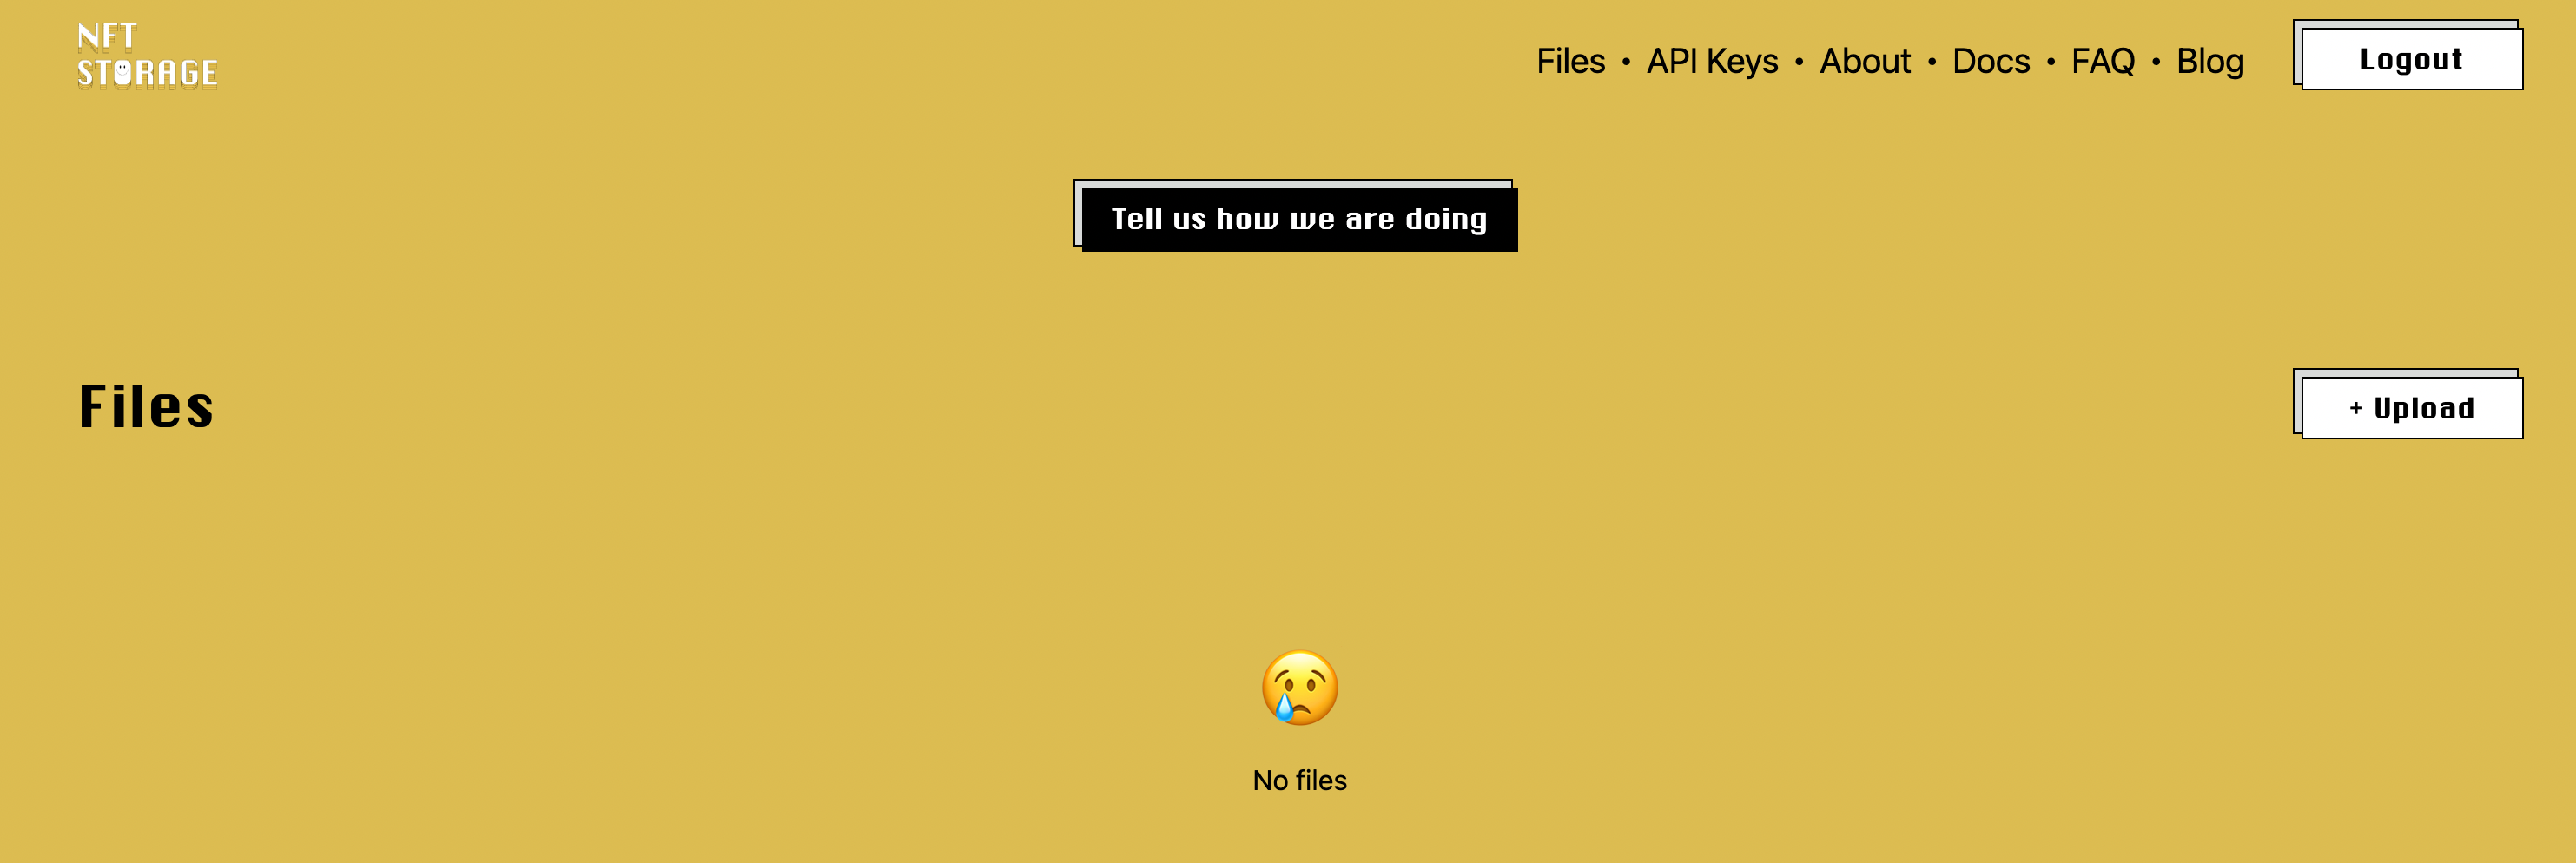
Once uploaded, you should be able to click through the CID for the uploaded directory and browse through your images, which are now officially on IPFS!
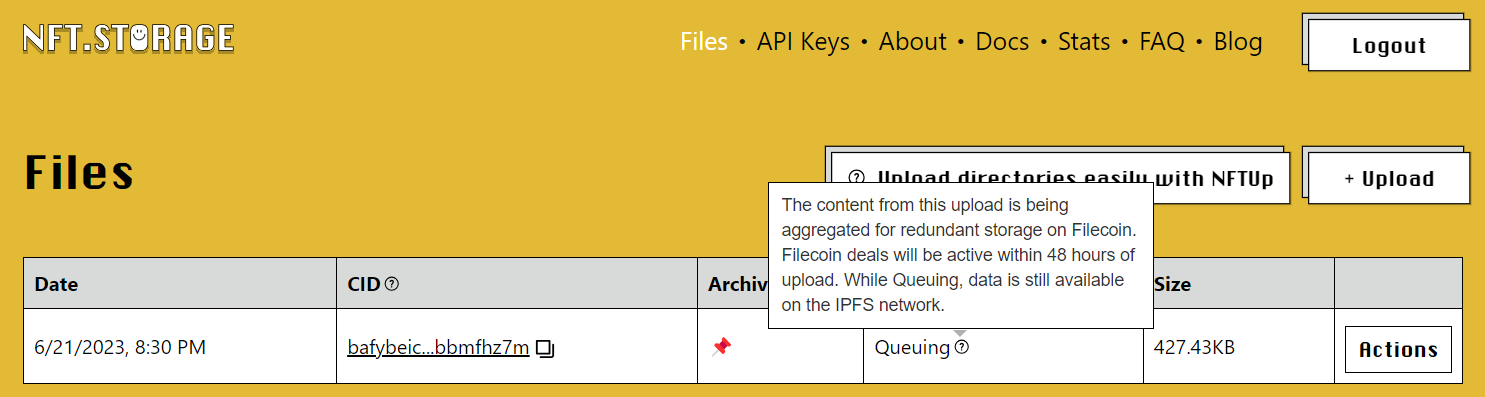
When data is first uploaded, the Storage Providers column will show a status of "Queuing". This indicates that the NFT.Storage service has the data and is aggregating it into a format that can be used to make a storage deal.
Once enough data has been aggregated, the NFT.Storage service will propose several Filecoin storage deals with different Filecoin storage providers. These will initially be shown in a "pending" status, while the provider accepts the deal and posts its commitment to the Filecoin blockchain.
When the deal has been confirmed and published to the Filecoin blockchain, the status field will have a value of "active".
Wait for it to finish "queuing":
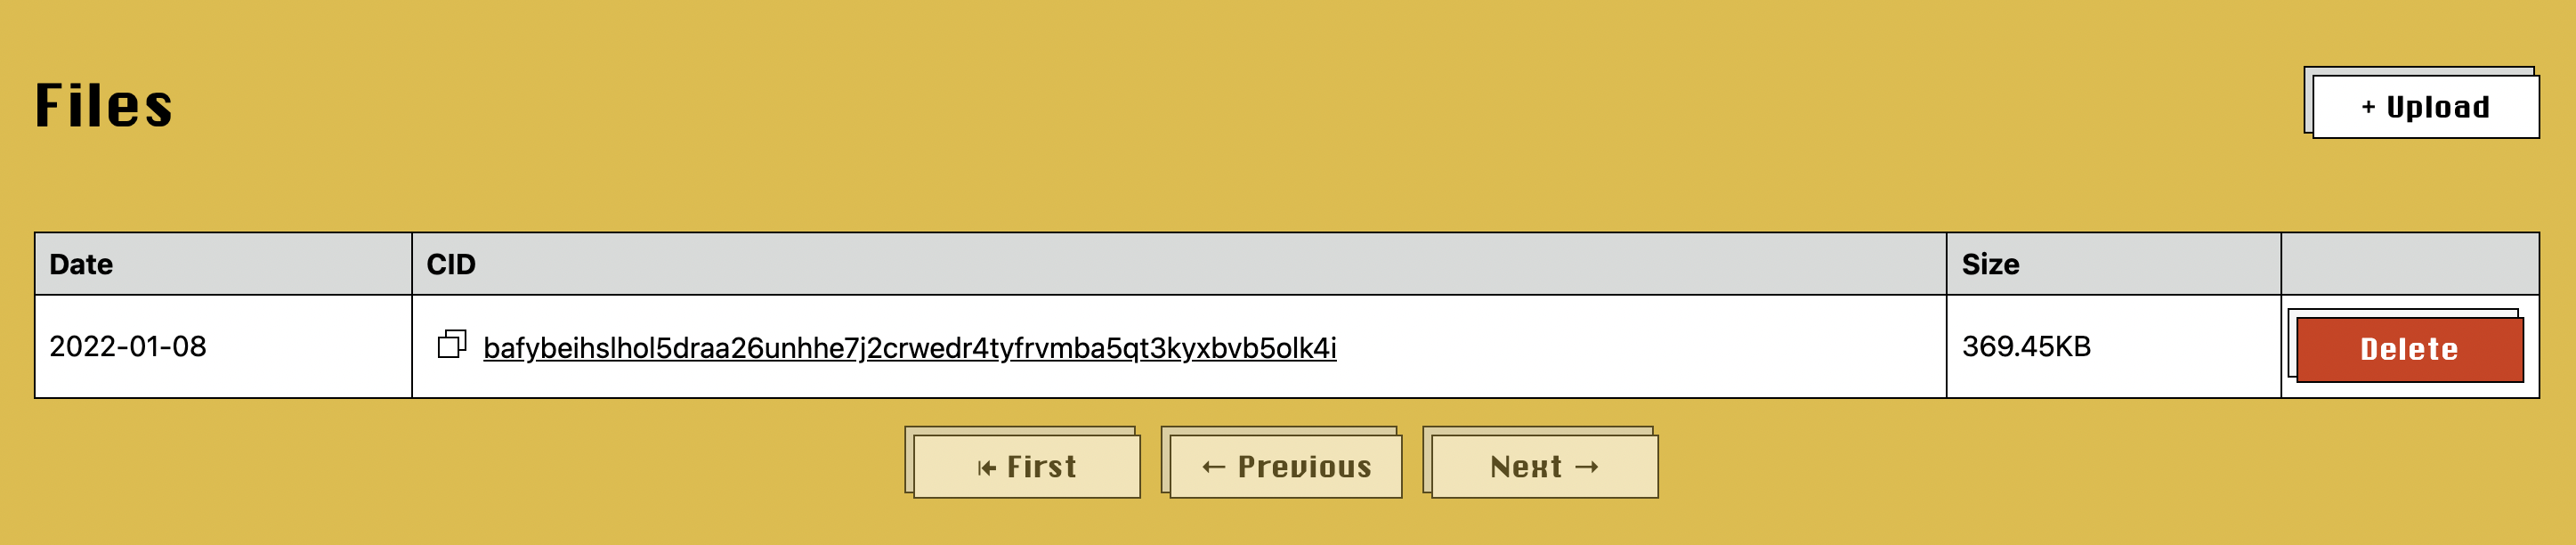
Continue to the next steps once the status is "active":
3.4.1 Metadata CAR
Now we can begin creating our metadata JSON files, with IPFS images included. In metadata/, go ahead and create 3 files: 1, 2, and 3 (don't worry about not adding a file extension). Fill these files with sample data such as below:
{
    "description" : "Friendly GonnaMakeIt Creature that enjoys long swims in the ocean.",
    "external_url" : "https://example.com/?token_id=1",
    "image" : "https://bafybeic5krzlbyrwbq63iwikn5djfv62lmzyqcr7azvhwcuwzrbbmfhz7m.ipfs.nftstorage.link/nft-star1.png",
    "name" : "Sprinkles Fisherton"
 }
{
  "attributes": [
    {
      "trait_type": "level",
      "value": 3
    },
    {
      "trait_type": "stamina",
      "value": 11.7
    },
    {
      "trait_type": "personality",
      "value": "sleepy"
    },
    {
      "display_type": "boost_number",
      "trait_type": "aqua_power",
      "value": 30
    },
    {
      "display_type": "boost_percentage",
      "trait_type": "stamina_increase",
      "value": 15
    },
    {
      "display_type": "number",
      "trait_type": "generation",
      "value": 1
    }
  ],
  "description": "Friendly GonnaMakeIt Creature that enjoys long swims in the ocean.",
  "external_url": "https://example.com/?token_id=2",
  "image": "https://bafybeic5krzlbyrwbq63iwikn5djfv62lmzyqcr7azvhwcuwzrbbmfhz7m.ipfs.nftstorage.link/nft-star2.png",
  "name": "Boris McCoy"
}
{
    "description" : "Friendly GonnaMakeIt Creature that enjoys long swims in the ocean.",
    "external_url" : "https://example.com/?token_id=3",
    "image" : "https://bafybeic5krzlbyrwbq63iwikn5djfv62lmzyqcr7azvhwcuwzrbbmfhz7m.ipfs.nftstorage.link/nft-star3.png",
    "name" : "Dave Starbelly"
}
Use the same IPFS-CAR CLI command from earlier on the metadata folder and upload that as well to NFT Storage:
npx ipfs-car pack metadata --output metadata.car
root CID: bafybeifr37cgq442crw36u23jico6xmta7k3asg7lp4vlc3ltpfsambsfa
  output: metadata.car
Similar to the image.car, upload the metadata.car file to NFT Storage Files
Wait for you uploads on NFT Storage to turn "active". Upload your metadata is ready to be set onto your smart contract! We already know what the base URL is due to IPFS since it is the root CID returned in the CLI command: bafybeic5krzlbyrwbq63iwikn5djfv62lmzyqcr7azvhwcuwzrbbmfhz7m
As a verification check, your project directory should look more or less as follows:
tree -L 3 -I 'node_modules*|cache*'
.
├── LICENSE
├── README.md
├── artifacts
│   ├── @openzeppelin
│   │   └── contracts
│   ├── build-info
│   │   └── f179c78b6322d2fddc1e72511467aa46.json
│   └── contracts
│       └── NFT.sol
├── contracts
│   └── NFT.sol
├── hardhat.config.js
├── images
│   ├── nft-star1.png
│   ├── nft-star2.png
│   └── nft-star3.png
├── images.car
├── metadata
│   ├── 1.json
│   ├── 2.json
│   └── 3.json
├── metadata.car
├── package-lock.json
├── package.json
└── scripts
    ├── deploy.js
    ├── helpers.js
    └── mint.js
3.5 Adding a Hardhat task to set metadata
Now lets work on two new tasks: one for calling setBaseTokenURI() to set new values and one for calling tokenURI() to fetch token metadata. Open the scripts/mint.js tasks file and implement as follows:
const { task } = require("hardhat/config");
const { getContract } = require("./helpers");
const fetch = require("node-fetch");

task("mint", "Mints from the NFT contract")
.addParam("address", "The address to receive a token")
.setAction(async function (taskArguments, hre) {
    const contract = await getContract("NFT", hre);
    const transactionResponse = await contract.mintTo(taskArguments.address, {
        gasLimit: 500_000,
    });
    console.log(`Transaction Hash: ${transactionResponse.hash}`);
});

task("set-base-token-uri", "Sets the base token URI for the deployed smart contract")
.addParam("baseUrl", "The base of the tokenURI endpoint to set")
.setAction(async function (taskArguments, hre) {
    const contract = await getContract("NFT", hre);
    const transactionResponse = await contract.setBaseTokenURI(taskArguments.baseUrl, {
        gasLimit: 500_000,
    });
    console.log(`Transaction Hash: ${transactionResponse.hash}`);
});

task("token-uri", "Fetches the token metadata for the given token ID")
.addParam("tokenId", "The tokenID to fetch metadata for")
.setAction(async function (taskArguments, hre) {
    const contract = await getContract("NFT", hre);
    const response = await contract.tokenURI(taskArguments.tokenId, {
        gasLimit: 500_000,
    });

    const metadata_url = response;
    console.log(`Metadata URL: ${metadata_url}`);

    const metadata = await fetch(metadata_url).then(res => res.json());
    console.log(`Metadata fetch response: ${JSON.stringify(metadata, null, 2)}`);
});
3.6 Putting it all together
We are now ready to deploy a new contract and set the metadata on it using our new set-token-uri task. Finally, we can call our token-uri task and actually get the metadata for tokens we have minted.
npx hardhat compile
You should see a response that looks like this:
Downloading compiler 0.8.18
Compiled 1 Solidity file successfully
npx hardhat deploy
Contract deployed to address: 0xEC98C68b96e8D89D17C99a742CC37b5b2298dB41
Set your NFT_CONTRACT_ADDRESS env variable and source your .env file
. .env

npx hardhat set-base-token-uri --base-url "https://bafybeic5krzlbyrwbq63iwikn5djfv62lmzyqcr7azvhwcuwzrbbmfhz7m.ipfs.dweb.link/metadata/"
Transaction Hash: 0x7f53d308ace3d094d0614798be16f149047b05234a9927e0b8acec73db7af142
npx hardhat mint --address 0xd66ee1691ffe9f7d476afc5d90c38e41cb44dc3e
Transaction Hash: 0x99b09300643f6e95563a6f54b94366f79daef835969a53933b1dc43208341a18
npx hardhat mint --address 0xd66ee1691ffe9f7d476afc5d90c38e41cb44dc3e
Transaction Hash: 0x661c48b2e306210fde28765786116a6dc4f955f2d44f09dee2ed66f9c9c4f79a
npx hardhat token-uri --token-id 1
Metadata URL: https://bafybeif6iuokmmcuwj7jgscybx3gvlcwkb6ybspwcduivl7mbqmgmmxubi.ipfs.dweb.link/metadata/1
Metadata fetch response: {
  "description": "Friendly GonnaMakeIt Creature that enjoys long swims in the ocean.",
  "external_url": "https://example.com/?token_id=1",
  "image": "https://bafybeihslhol5draa26unhhe7j2crwedr4tyfrvmba5qt3kyxbvb5olk4i.ipfs.dweb.link/images/1.png",
  "name": "Sprinkles Fisherton"
}
npx hardhat token-uri --token-id 2
Metadata URL: https://bafybeif6iuokmmcuwj7jgscybx3gvlcwkb6ybspwcduivl7mbqmgmmxubi.ipfs.dweb.link/metadata/2
Metadata fetch response: {
  "description": "Friendly GonnaMakeIt Creature that enjoys long swims in the ocean.",
  "external_url": "https://example.com/?token_id=1",
  "image": "https://bafybeihslhol5draa26unhhe7j2crwedr4tyfrvmba5qt3kyxbvb5olk4i.ipfs.dweb.link/images/2.png",
  "name": "Boris McCoy"
}
We're all set! Our contract is compiled & deployed, our tokens are minted, and our metadata is set and fetched.
You can view the repository in a complete state for chapter 3 on this dedicated branch on Gitlab.